Draw Feature
Video Tutorial
Draw Tool Tutorial
Learn how to use the Draw tool to create precise property measurements and outline areas.
Overview
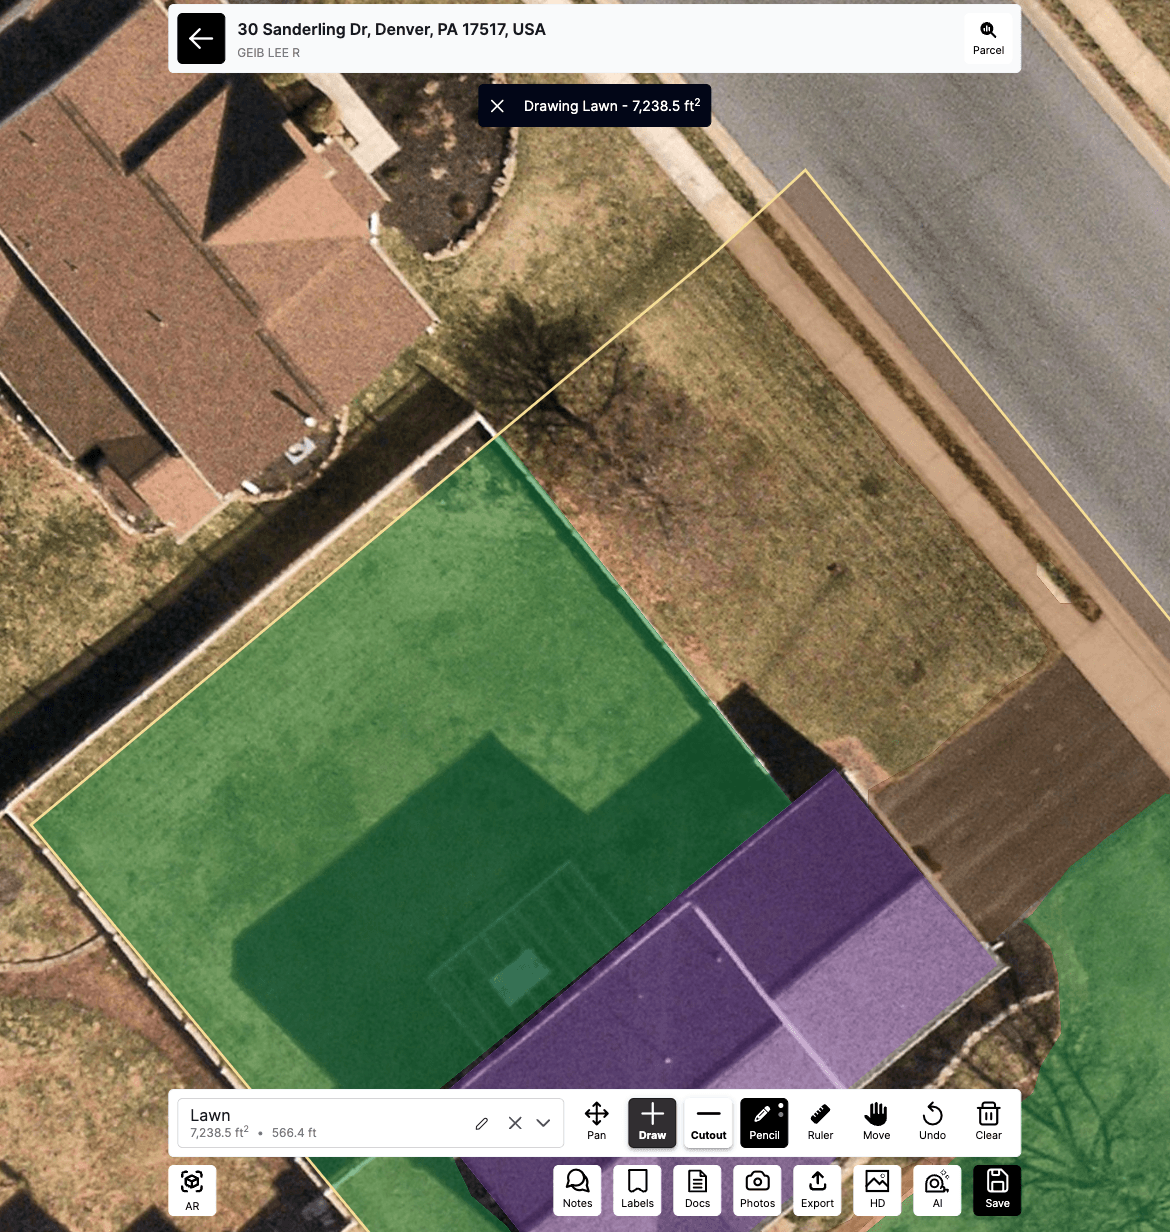
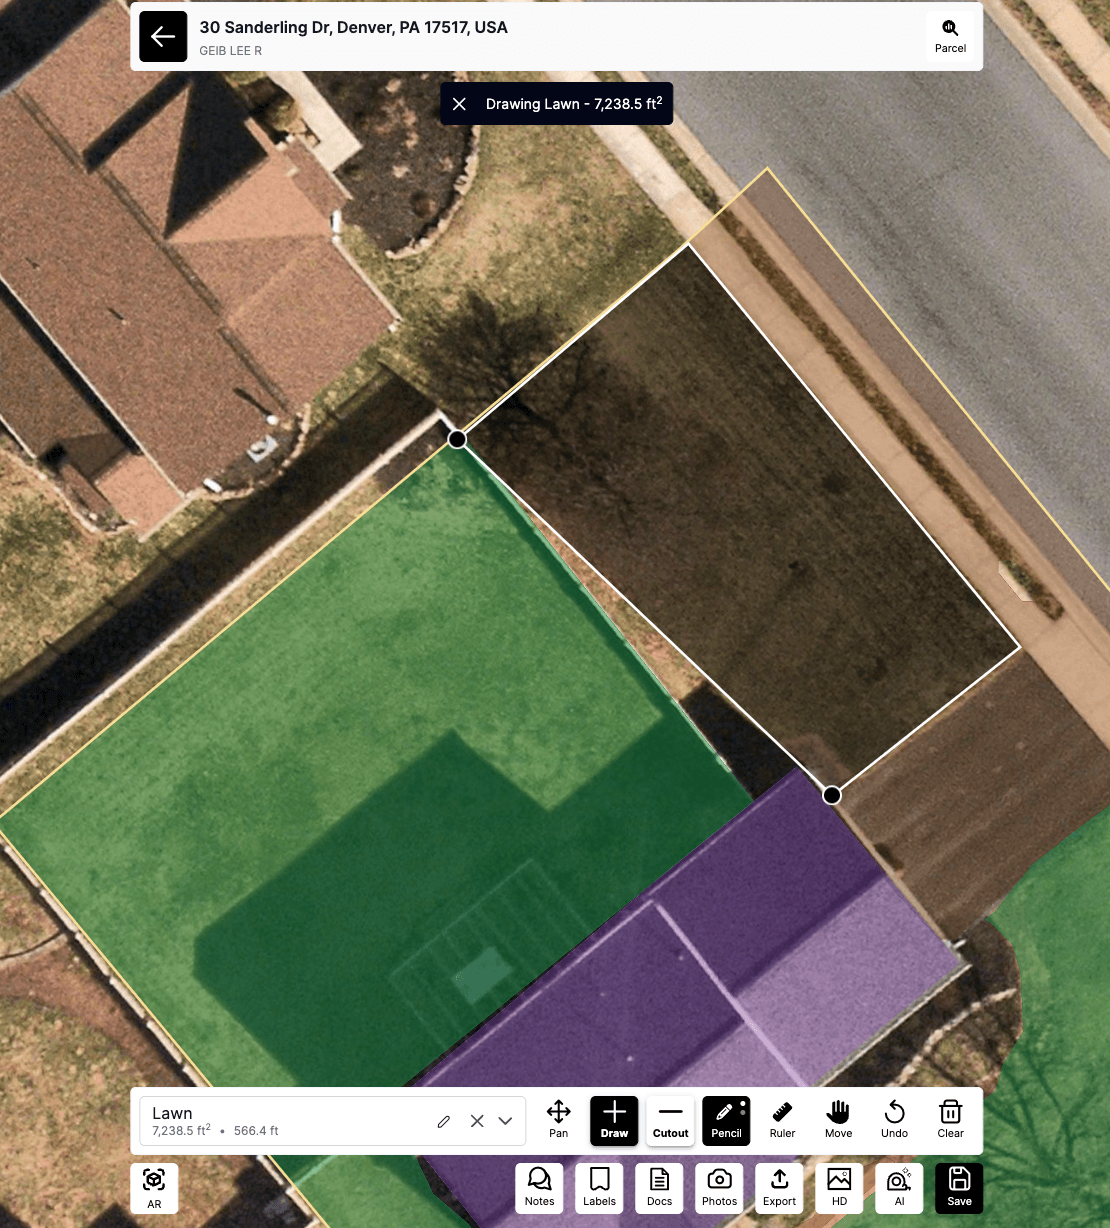
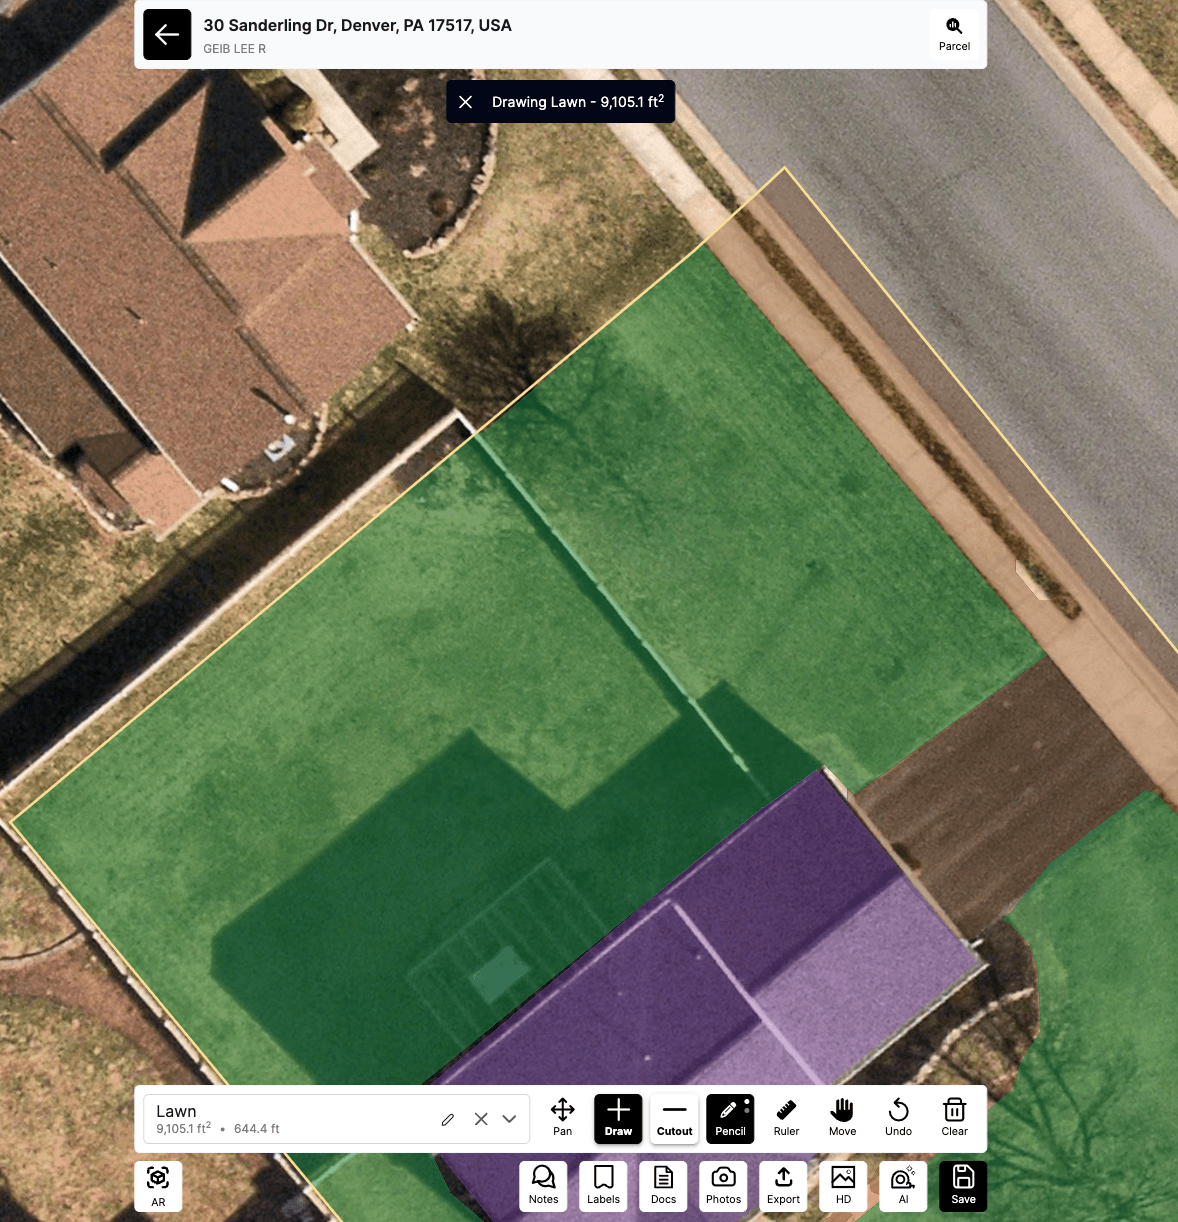
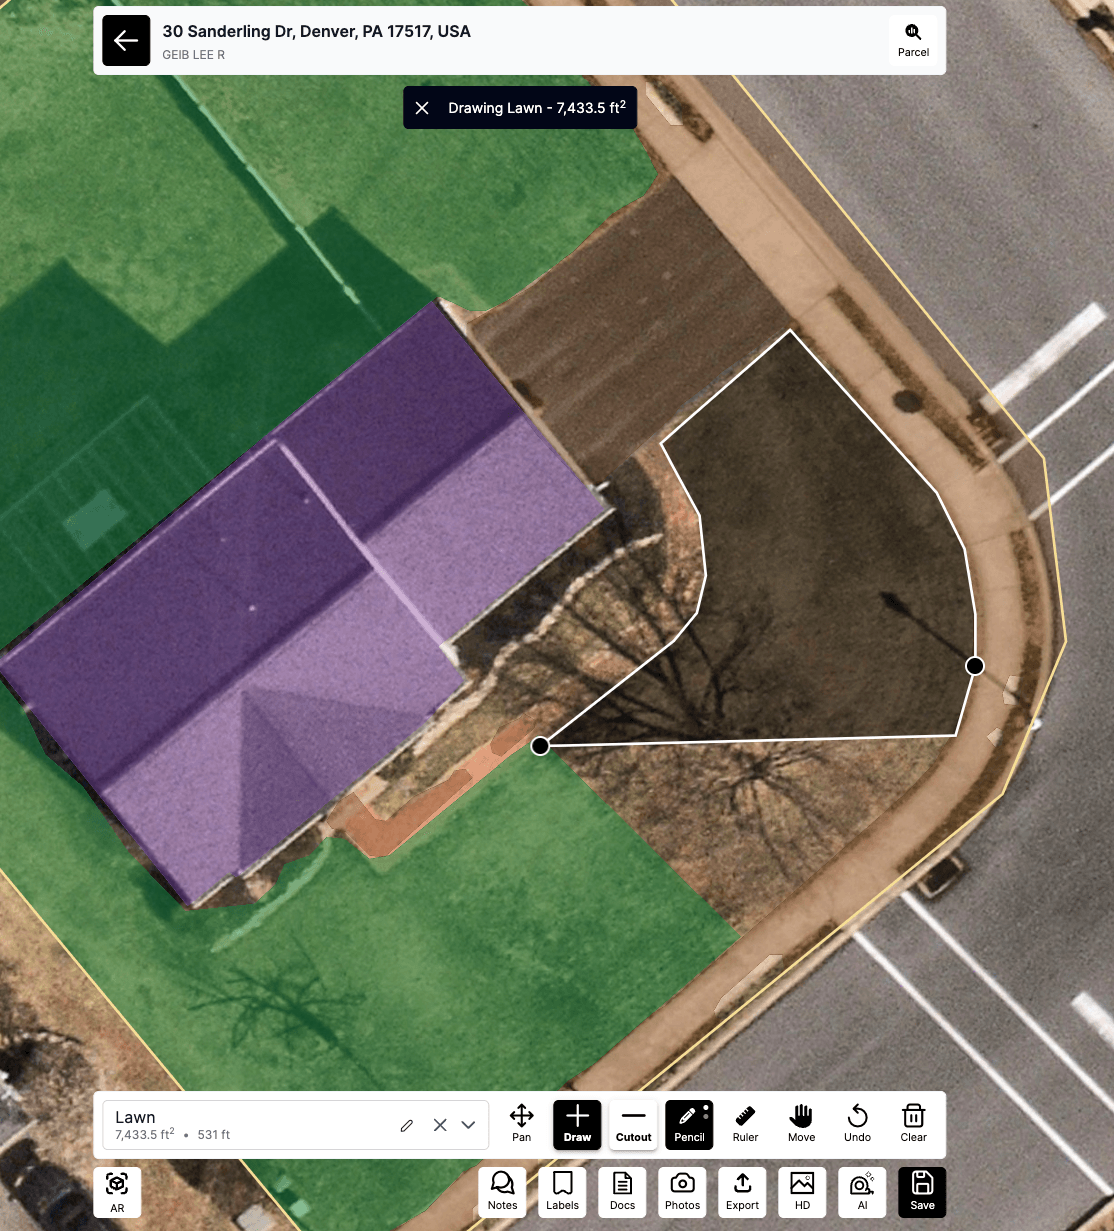
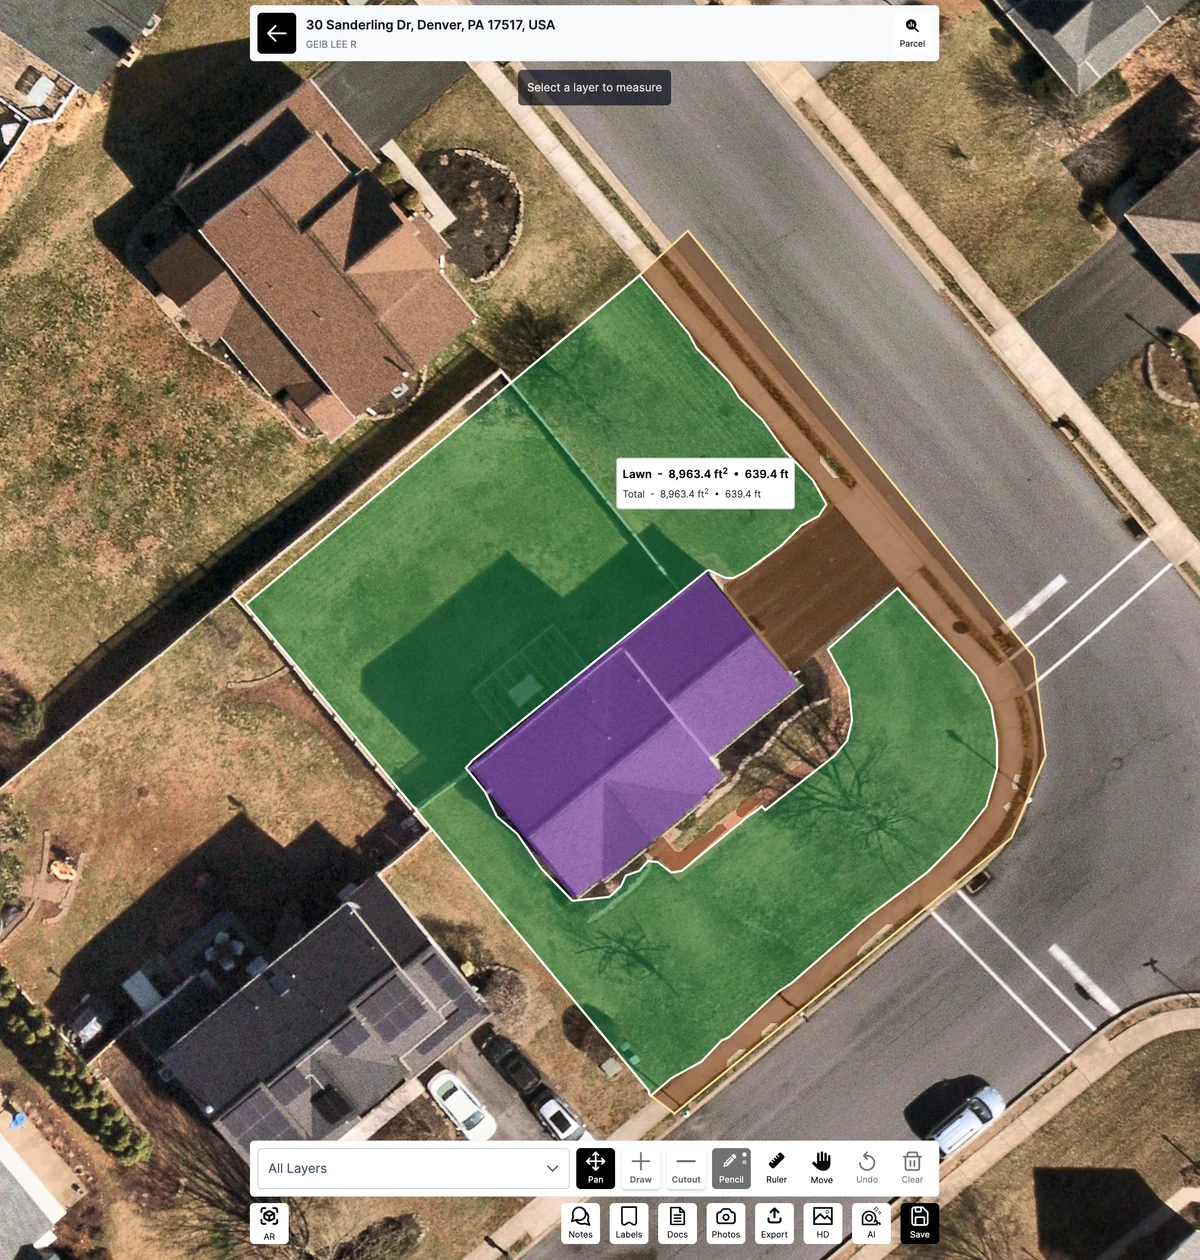
The Draw feature is one of the most essential tools in Launchpad Map, allowing you to create precise measurements by outlining areas, drawing property boundaries, and measuring specific features like lawns, driveways, roofs, and more.
Getting Started with Draw
Step 1: Select the Draw Tool
Click the Draw button in the main toolbar to activate the drawing mode.
Step 2: Choose Your Drawing Method
The Draw tool allows you to create measurements by placing points to form shapes:
- Click to place individual points
- Click and drag to create curved or freehand lines
- Double-click or click the starting point to close a shape
Drawing Different Types of Measurements
Area Measurements
Use the Draw tool to outline areas such as:
- Lawns and landscaped areas
- Driveways and walkways
- Patios and decks
- Rooftops and building footprints
- Garden beds and planting areas
- Click around the perimeter of the area you want to measure
- Place points at each corner or curve
- Close the shape by clicking the starting point or double-clicking
Drawing Tips and Best Practices
Accuracy Tips
Zoom in for precision - Use the zoom controls to get closer to the area you're measuring for more accurate point placement.
Follow natural boundaries - When measuring lawns or garden areas, follow the natural edges and curves of the landscape.
Use reference points - Align your measurements with visible landmarks like sidewalks, building corners, or fence lines.
Efficient Drawing Techniques
Start at a corner - Begin your measurement at a clear corner or reference point to maintain accuracy.
Work systematically - Move around the perimeter in one direction (clockwise or counterclockwise) to avoid confusion.
Use fewer points for straight edges - Only place points where the boundary changes direction.
Use more points for curves - Place additional points along curved boundaries for better accuracy.
Working with Layers
The Draw tool works with Launchpad's layer system to help you organize your measurements. Before drawing, make sure you have the appropriate layer selected - your measurement will be assigned to the active layer and colored accordingly.
For complete information on using layers, including all available layer types and advanced layer management features, check out our comprehensive Understanding Layers guide.
Editing Your Drawings
After creating a drawing, you can:
- Move points - Click and drag individual points to adjust the shape
- Add points - Click on a line segment to add a new point
- Delete points - Select a point and delete it to simplify the shape
- Delete entire drawing - Select the shape and use the delete option
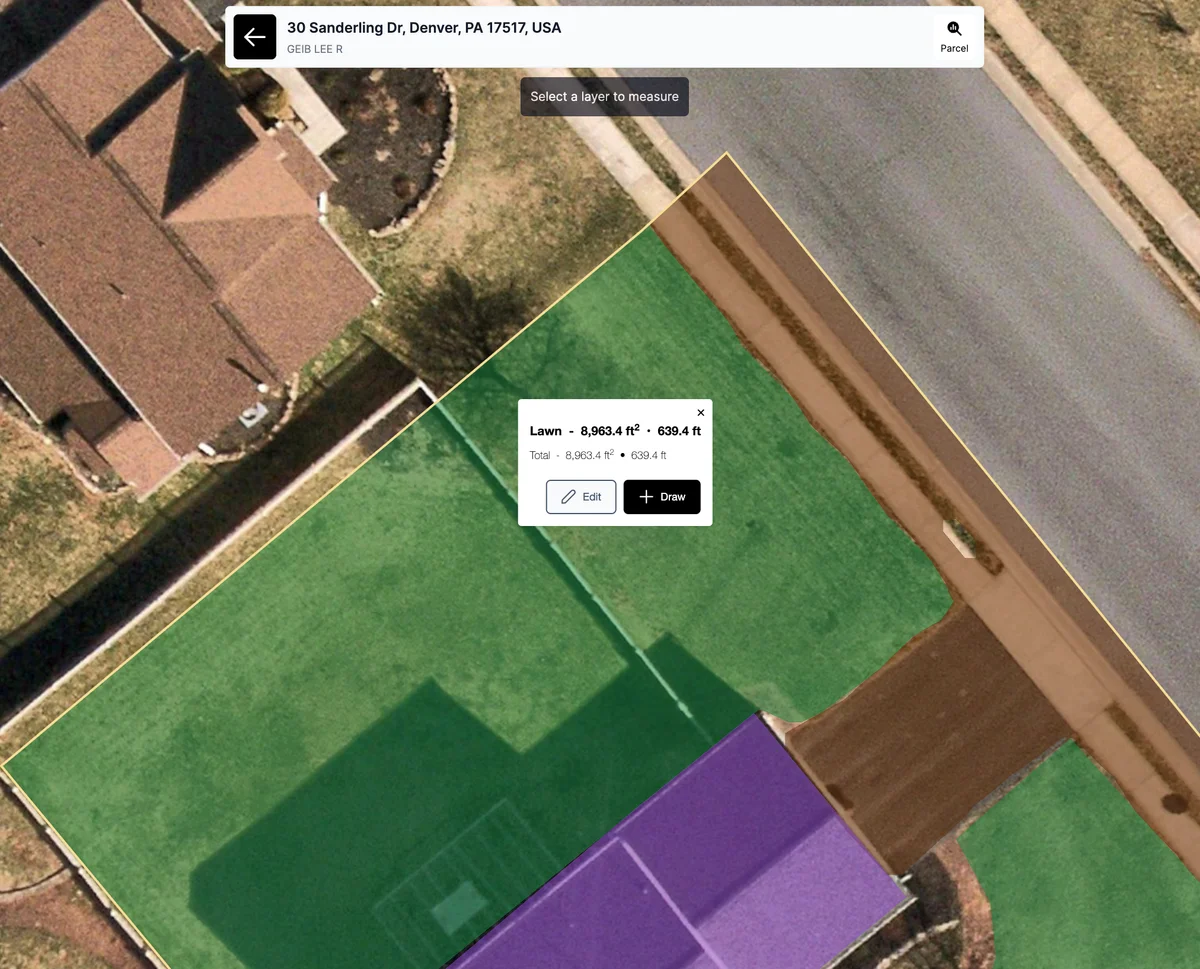
Measurement Display
Once you complete a drawing, Launchpad automatically calculates and displays:
- Area (for closed shapes) - shown in your preferred units
- Perimeter (for closed shapes) - the total distance around the edge
- Length (for lines) - the total distance of the line
Troubleshooting
Drawing not appearing? - Make sure you have a layer selected and the Draw tool is active.
Measurements seem inaccurate? - Check your zoom level and ensure you're placing points precisely on boundaries.
Can't close a shape? - Make sure to click exactly on your starting point or double-click to auto-close.
Drawing disappeared? - Check if you have the correct layer selected in the layers dropdown.
The Draw feature is the foundation of property measurement in Launchpad Map. With practice, you'll be able to quickly and accurately measure any property feature you need.
Was this article helpful?