Cutout Feature
Video Tutorial
Cutout Tool Tutorial
Learn how to use the Cutout tool to subtract areas from existing measurements for precise exclusions.
Overview
The Cutout feature is a powerful tool that allows you to subtract specific areas from existing measurements. This is essential for creating accurate calculations when you need to exclude features like pools, buildings, or other structures from larger area measurements.
How to Use the Cutout Tool
Creating a Cutout
- Select an existing measurement - Click on the area measurement you want to cut out from
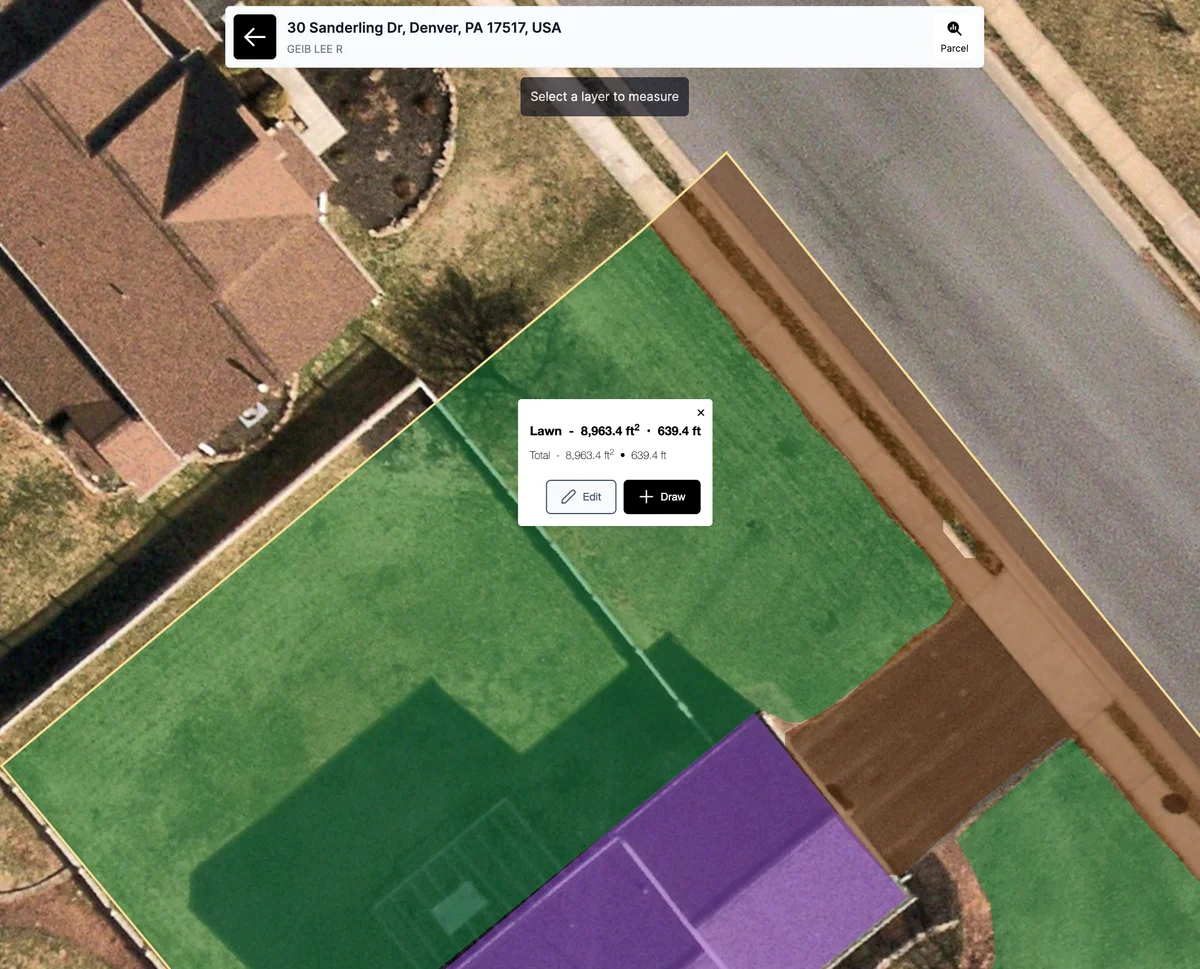
- Activate the Cutout tool - Click the Cutout button in the toolbar
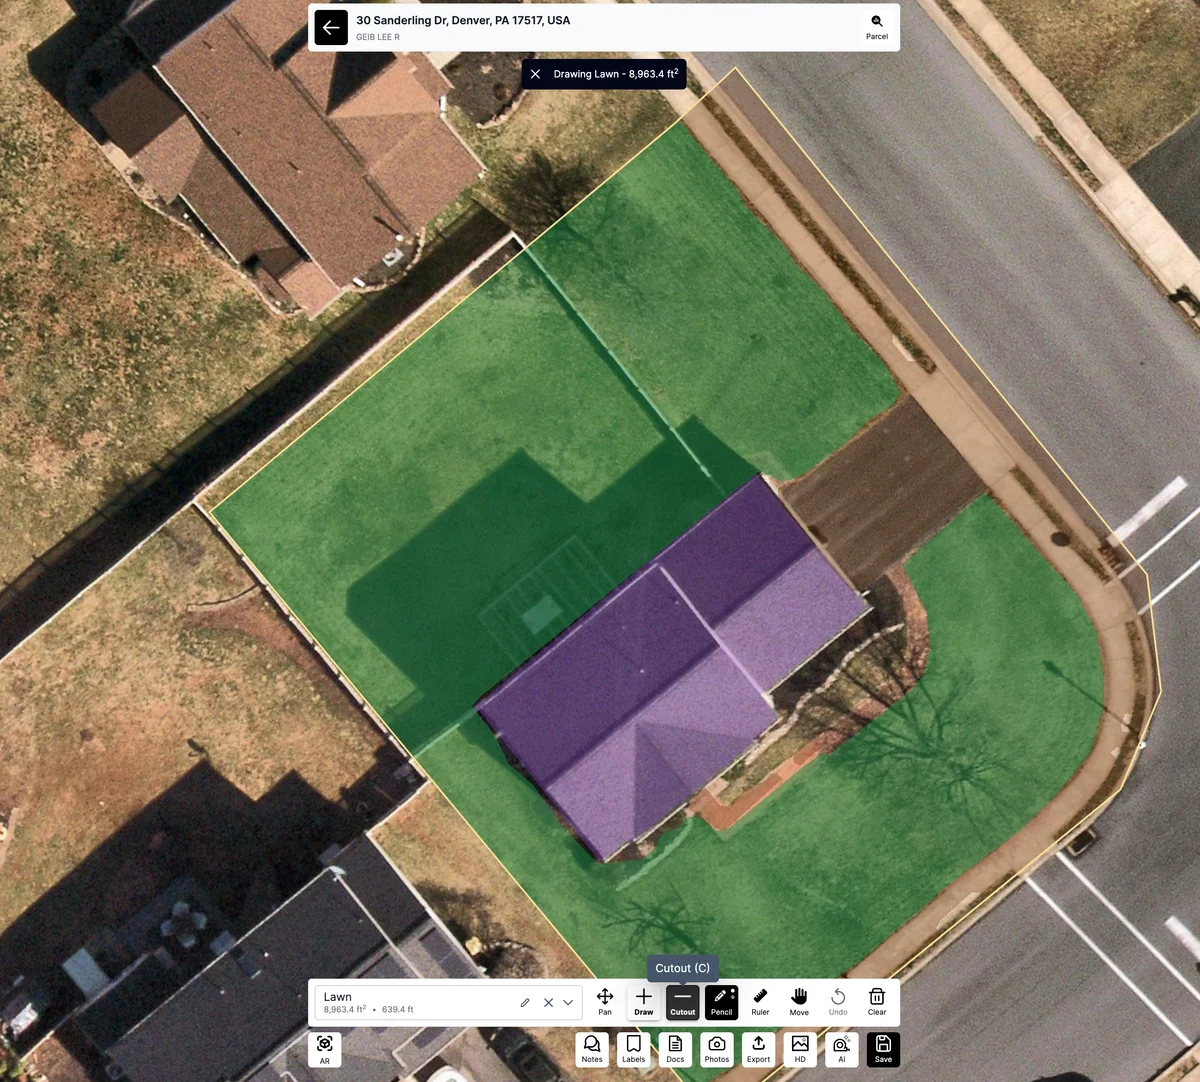
- Draw the cutout area - Use the same point-placing technique as the Draw tool to outline the area you want to subtract
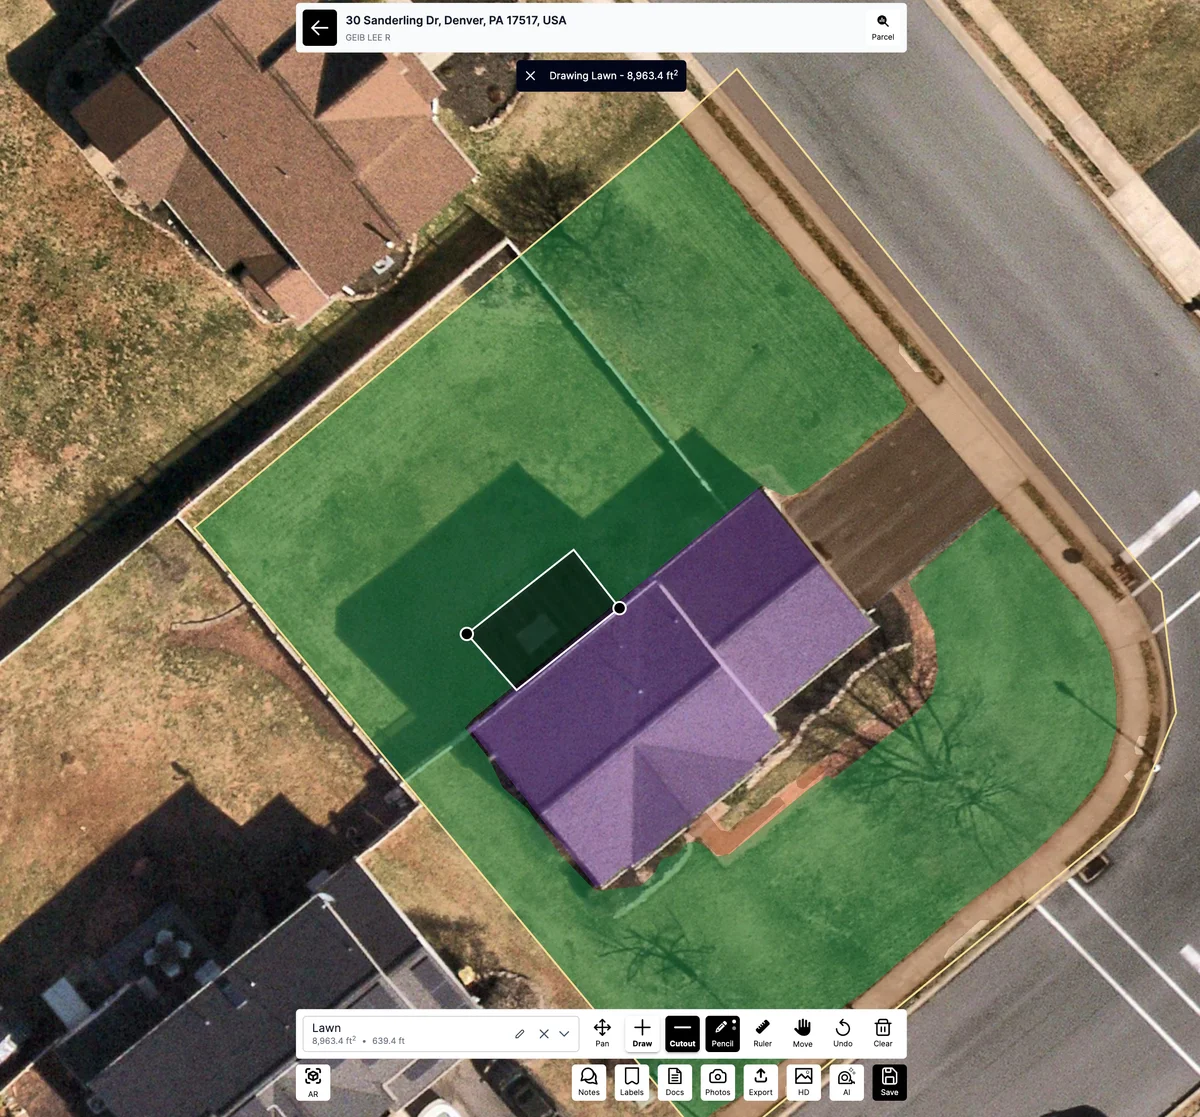
- Complete the cutout - Close the shape by clicking the starting point or double-clicking
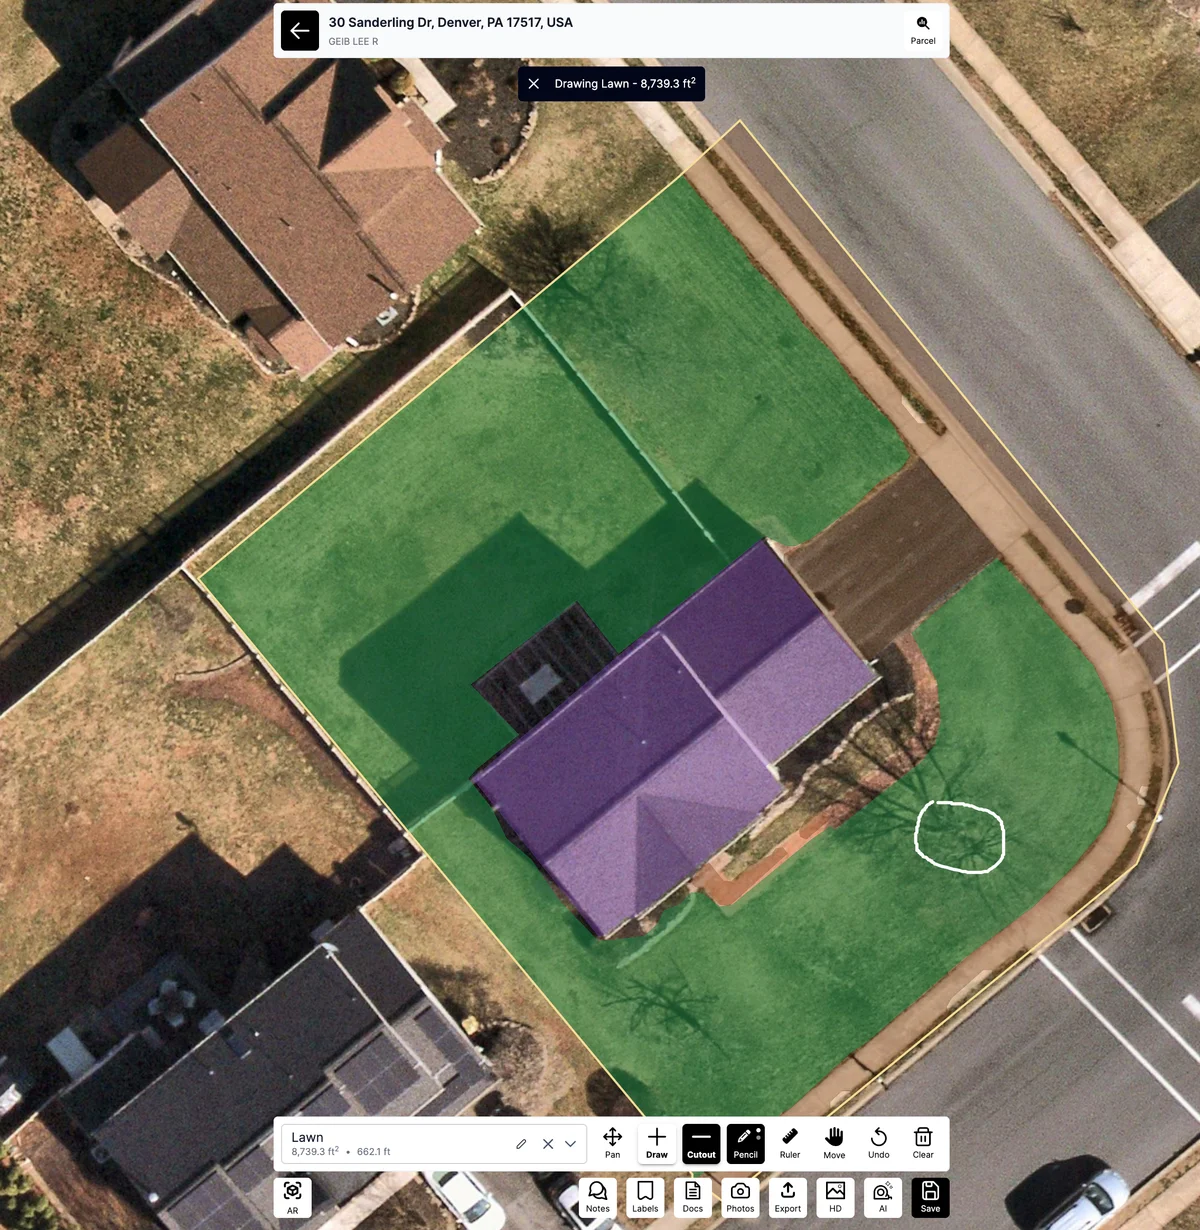
Using the Pencil Tool for Cutouts
In addition to the standard point-and-click method, you can also use the Pencil tool to create freehand cutouts. This is particularly useful for irregular shapes or when you need to trace complex boundaries.
Freehand Cutout Workflow
- Select your base measurement - Click on the existing area measurement
- Switch to Pencil mode - Activate the Pencil tool from the toolbar
- Draw the cutout shape - Use freehand drawing to trace the area you want to subtract
- Complete the cutout - The pencil drawing will automatically subtract from the selected measurement
The Pencil tool is ideal for cutting out natural features like tree canopies, irregular landscape beds, or curved architectural elements that would be difficult to trace with individual points.
Common Cutout Applications
Pool Areas - Remove swimming pools from lawn or yard measurements
Building Footprints - Subtract house, garage, or shed areas from total lot measurements
Driveways and Walkways - Remove paved areas from landscaped measurements
Garden Features - Exclude decorative elements, planters, or water features
Utility Areas - Remove HVAC units, utility boxes, or storage areas
Cutout Tips and Best Practices
Accuracy Guidelines
Zoom in for precision - Get close to the area you're cutting out for accurate boundary placement.
Follow exact boundaries - Trace the precise edges of the feature you're excluding.
Check your selection - Make sure you have the correct base measurement selected before cutting out.
Verify calculations - Review the updated area totals after creating cutouts.
Efficient Cutout Techniques
Plan your measurements - Consider what you'll need to cut out when creating your initial area measurements.
Use the right layer - Place cutouts on appropriate layers to maintain organization.
Work systematically - Complete all cutouts for one measurement before moving to the next.
Double-check boundaries - Ensure cutout areas don't extend beyond the original measurement boundaries.
Working with Layers
The Cutout tool works seamlessly with Launchpad's layer system. Cutouts can be applied to measurements on any layer and will automatically update the layer's total calculations.
For complete information on using layers with all measurement tools, check out our comprehensive Understanding Layers guide.
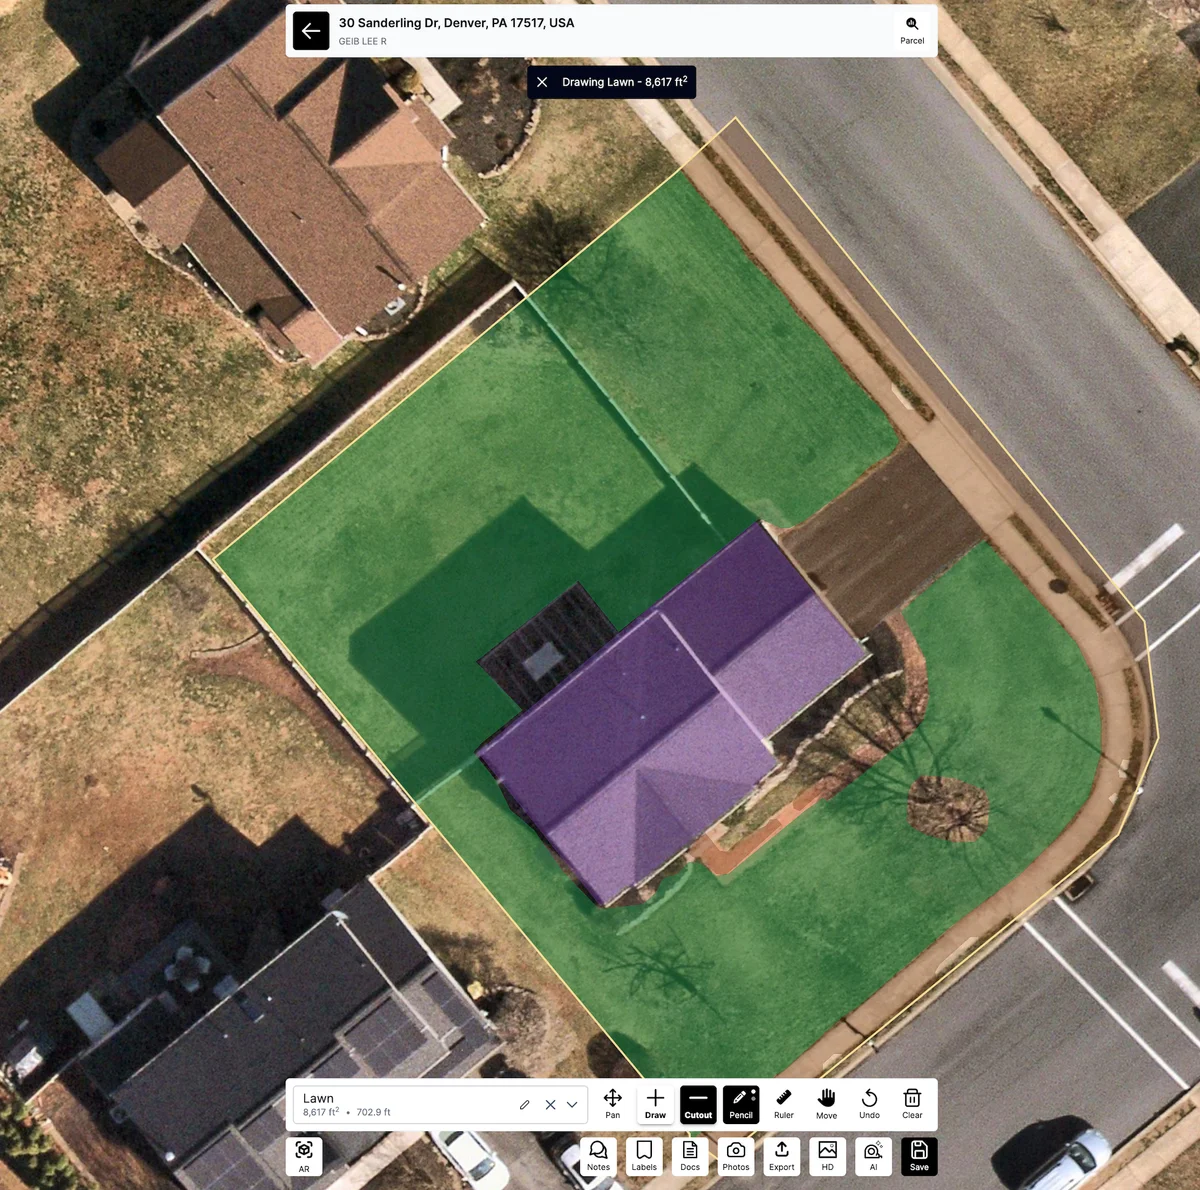
Measurement Calculations
When you create a cutout, Launchpad automatically:
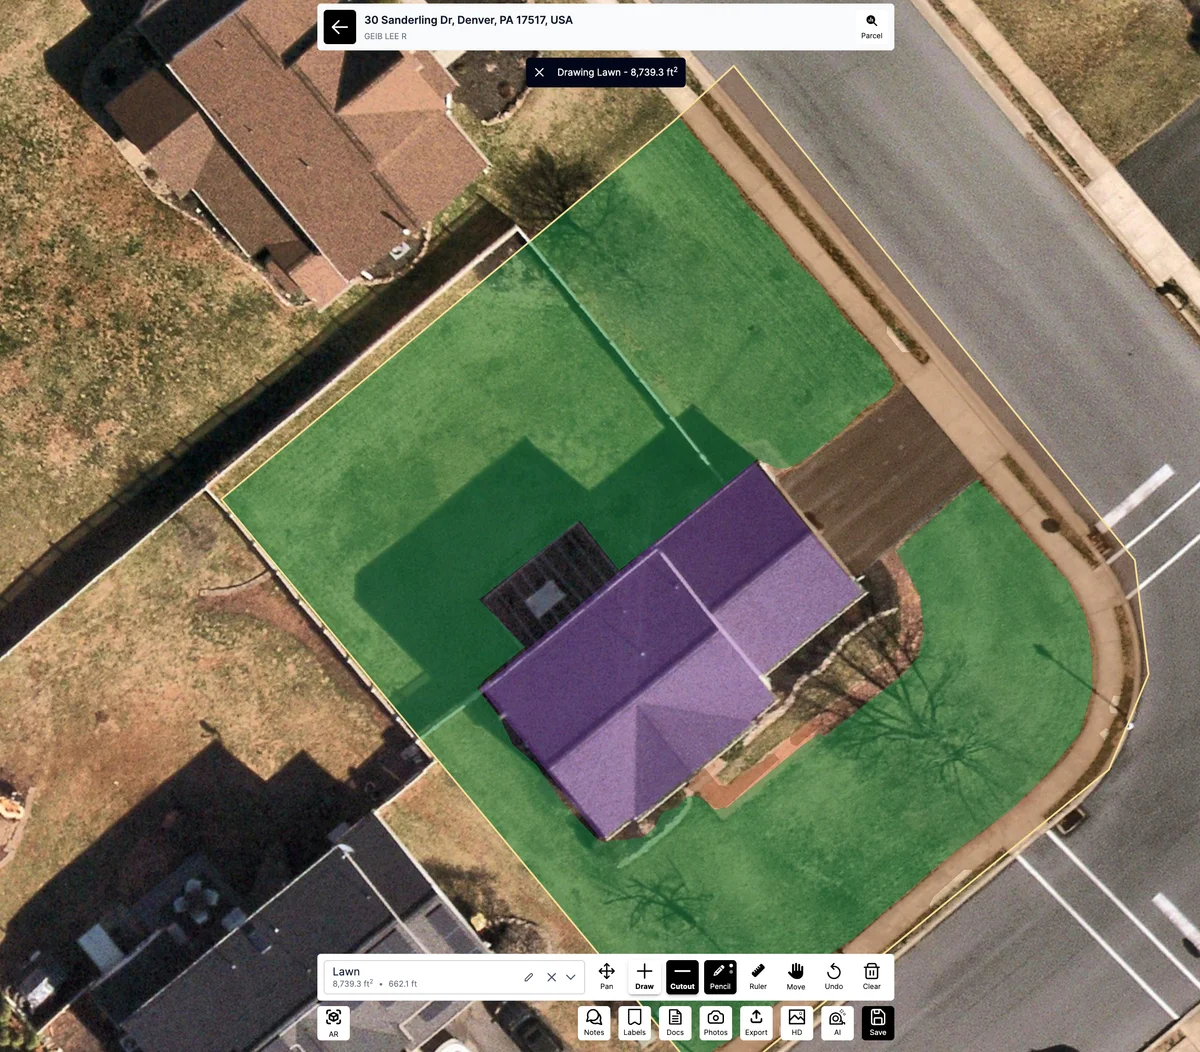
- Subtracts the cutout area from the original measurement
- Updates the net area calculation in real-time
- Maintains separate totals for gross area (original) and net area (after cutouts)
- Displays both values so you can see the full breakdown
Troubleshooting
Cutout not appearing? - Make sure you have selected the base measurement before activating the Cutout tool.
Calculation seems wrong? - Verify that the cutout area is completely within the boundaries of the original measurement.
Can't select measurement? - Check that the measurement is on a visible layer and try clicking directly on the measurement line or area.
Cutout disappeared? - Ensure you're viewing the correct layer and that layer visibility is enabled.
Cutout extends beyond original area? - Redraw the cutout to stay within the boundaries of the base measurement.
The Cutout feature is essential for creating precise, professional property measurements. By accurately excluding specific areas, you can provide clients with exact calculations for landscaping, construction, and property planning projects.
Was this article helpful?