Measure Preferences in Launchpad
Video Tutorial
Configuration Tutorial: Measure Preferences
Learn how to configure measurement preferences in Launchpad to customize your default settings.
Overview
This article explains how to configure the Measure Preferences panel in Launchpad, which controls how layers, AI analysis, ruler units, labels, and drawing tools behave by default.
Accessing Measure Preferences
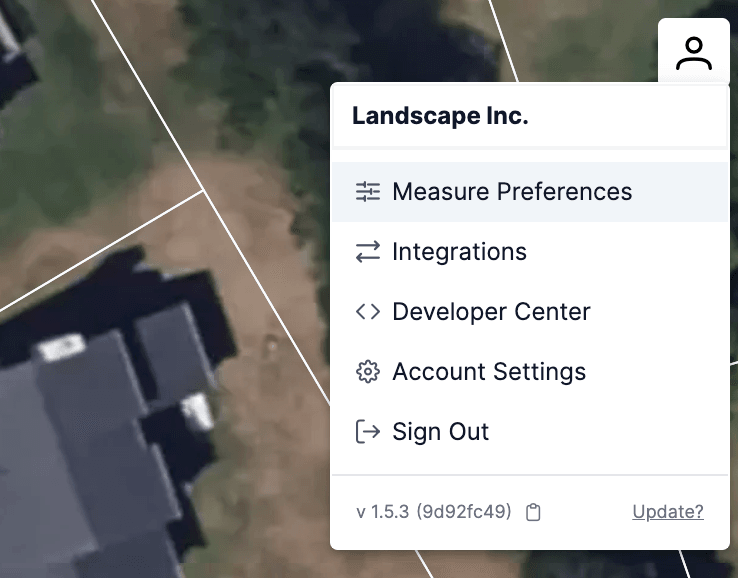
To open Measure Preferences:
- Click the profile icon in the top-right corner
- Select "Measure Preferences" from the dropdown menu
 You will see five sections:
- Layer Settings
- AI & Imagery Settings
- Label Settings
- Ruler Settings
- Drawing Settings
Each section allows you to customize how new measurements are handled across your account.
1. Layer Settings
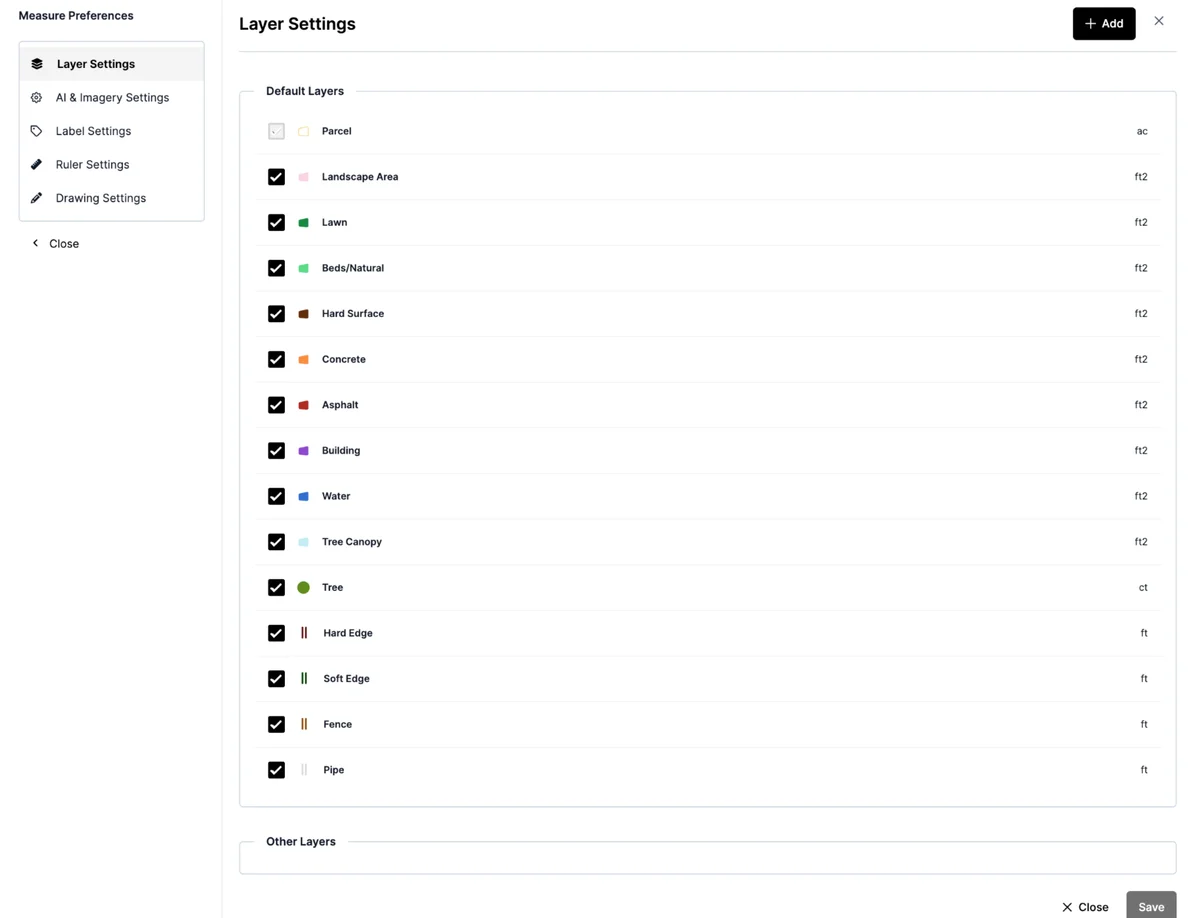
The Layer Settings tab lets you choose which measurement layers are enabled by default and how they are displayed.
Common layers include:
- Parcel
- Landscape Area
- Lawn
- Beds/Natural
- Hard Surface
- Concrete
- Asphalt
- Building
- Water
- Tree Canopy
- Tree (count-based)
- Hard Edge
- Soft Edge
- Fence
- Pipe
You can check or uncheck each layer to include or hide it by default. You can also define the measurement unit for each (e.g., square feet, feet, count, acres).
Use the "+ Add" button to include custom layers if your organization uses them.
2. AI & Imagery Settings
AI & Imagery Configuration Tutorial
Learn how to configure AI, imagery, and label settings to control automatic measurements and image quality.
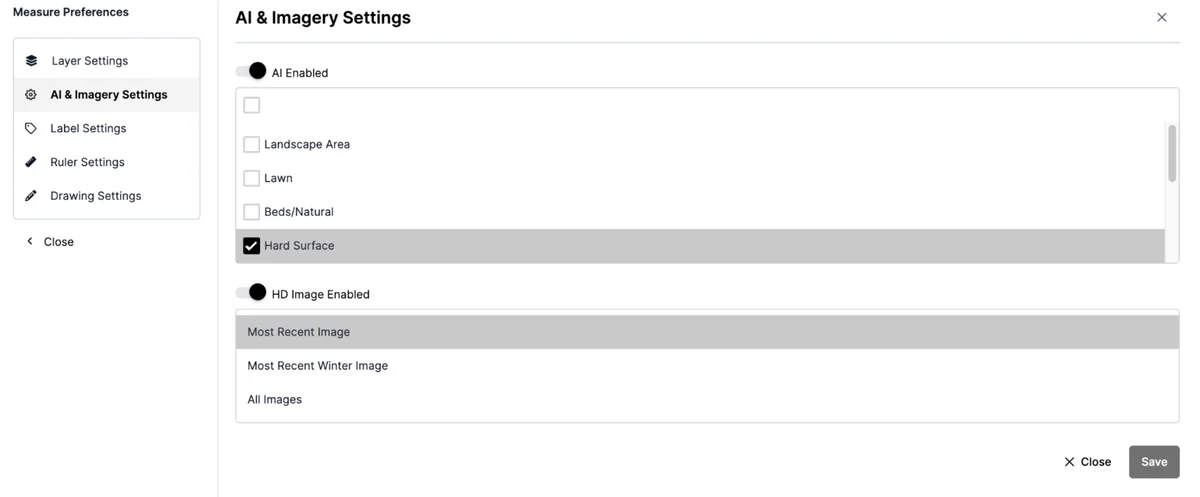
This section controls whether Launchpad runs AI and loads imagery by default when a property is created.
Settings include:
AI Enabled (toggle): When on, Launchpad automatically generates measurements for selected surface types.
HD Image Enabled (toggle): Determines whether high-resolution imagery is used.
AI Layer Selection: Choose which AI layers (e.g., Lawn, Beds/Natural, Hard Surface) are enabled.
Imagery Mode:
- Most Recent Image
- Most Recent Winter Image
- All Images
These settings help automate measurements while balancing cost and performance.
3. Label Settings
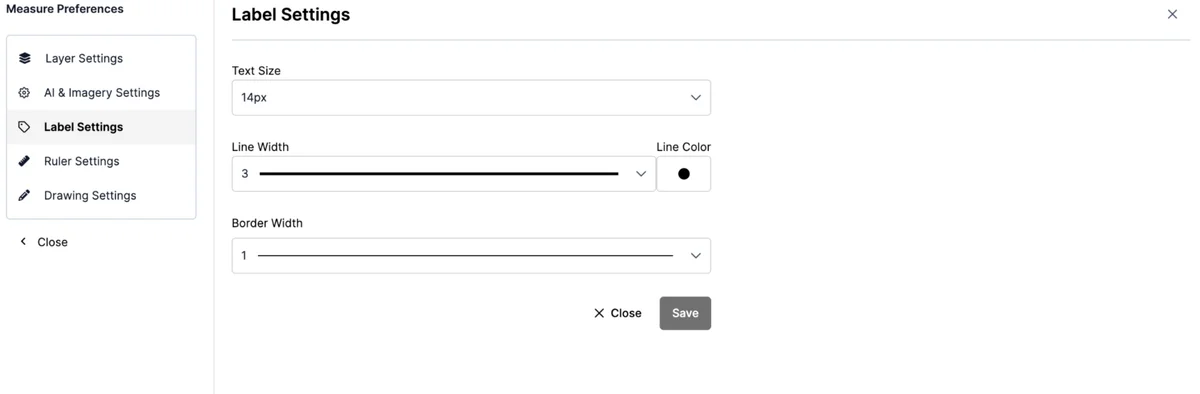
Label Settings allow you to control how labels appear when placed on the map.
Options include:
- Text Size: Default font size for label text
- Line Width: Thickness of the line connecting the label to the map area
- Line Color: Default color of the label line
- Border Width: Thickness of the label box border
These settings ensure labels are legible and consistent across all projects.
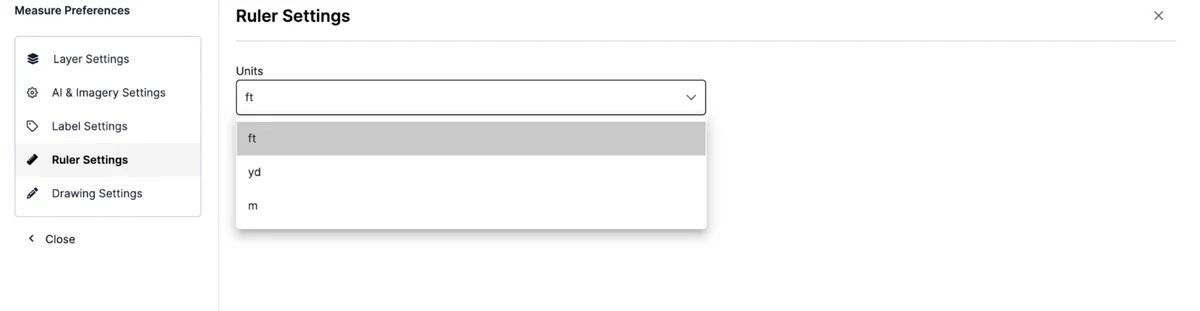
4. Ruler Settings
In this section, you can set the default unit for distance measurements.
Available units:
- Feet (ft)
- Yards (yd)
- Meters (m)
This setting applies to all use of the Ruler tool and helps maintain accuracy across different regions or project types.
5. Drawing Settings
This section controls how other layers appear when you are actively drawing a measurement.
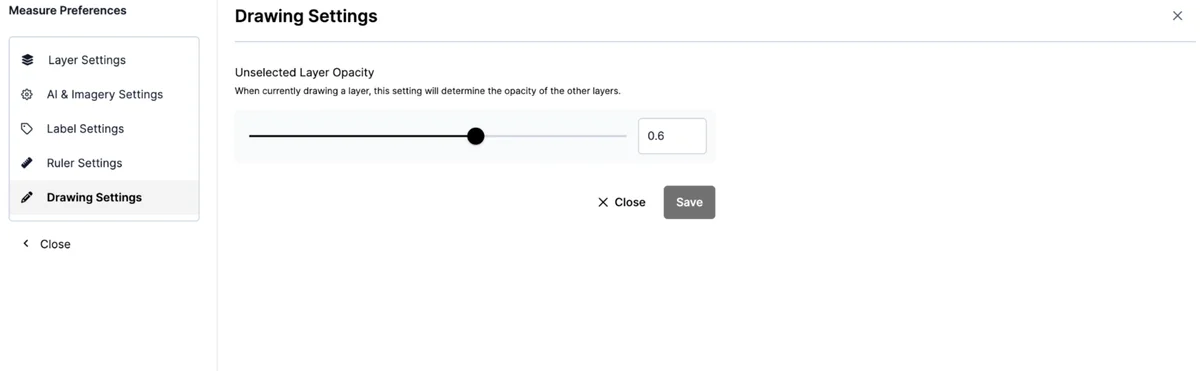 Unselected Layer Opacity: Adjust the slider to control how transparent other layers appear while drawing. For example, an opacity of 0.6 will dim everything except the active layer so you can focus.
Saving Preferences
Each section includes a Save button. Be sure to save your changes before closing the panel to apply your settings globally.
Summary
Measure Preferences allow you to standardize how measurements are created and displayed across your account. By setting these defaults, you can streamline your workflows, maintain consistency, and reduce manual adjustments on each new project.
Was this article helpful?